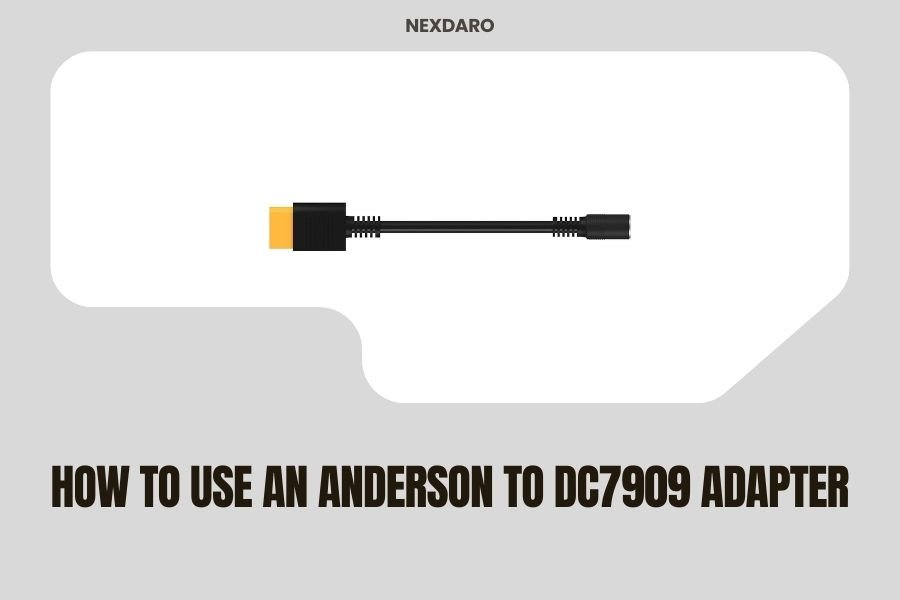
An Anderson to DC7909 adapter connects Anderson Powerpole connectors to devices that use DC7909 barrel plugs, commonly found on portable power stations and solar generators.
You simply plug the Anderson connector into your power source and insert the DC7909 end into your device’s charging port to create a secure power connection.
What Is an Anderson to DC7909 Adapter
Think of this adapter as a translator between two different electrical languages. Your solar panels or battery bank speaks “Anderson,” while your portable power station speaks “DC7909.”
The Anderson side features the red and black Powerpole connectors that slide together. The DC7909 end looks like a round barrel plug, measuring 7.9mm outer diameter and 0.9mm inner diameter.
Most adapters handle 12V systems and can carry 10-15 amps safely. That’s enough power for most portable electronics and small appliances.
Common Applications
I found that people use these adapters most often for:
- Connecting solar panels with Anderson outputs to power stations
- Linking battery banks to portable devices
- Powering 12V equipment from Anderson power sources
- Creating custom power setups for RVs and boats
Safety Precautions Before Starting
Safety comes first when working with electrical connections. You don’t want to damage your expensive equipment or hurt yourself.
Check Voltage Compatibility
Always verify that your power source voltage matches your device requirements. Most DC7909 devices expect 12V, but some want 19V or 24V.
Using the wrong voltage can fry your electronics instantly. There’s no “close enough” with electrical systems.
Verify Current Ratings
Your adapter needs to handle the current your device draws. A 5-amp device needs at least a 5-amp adapter.
I researched and found that most quality adapters handle 10-15 amps. Check the specs on both your adapter and your device.
Power Calculation
Remember this simple formula: Watts = Volts × Amps. A 12V device drawing 10 amps uses 120 watts of power.
Inspect Your Equipment
Look for damaged wires, cracked connectors, or burnt spots. Damaged equipment can cause fires or electrocution.
Replace anything that looks questionable. It’s cheaper than replacing your entire power station.
Step-by-Step Connection Process
Getting this connection right takes just a few minutes when you know the proper steps.
Step 1: Power Down Everything
Turn off your power source and unplug your device. Making connections under load can create dangerous arcs.
Think of it like changing a light bulb. You flip the switch off first, right?
Step 2: Identify Polarity
Anderson connectors use red for positive and black for negative. The DC7909 plug has a center pin (positive) and outer barrel (negative).
Getting polarity wrong can damage sensitive electronics. When in doubt, use a multimeter to check.
Using a Multimeter
Set your multimeter to DC voltage. Touch the red probe to the center pin and black probe to the outer barrel.
A positive reading means you’ve got the right polarity. A negative reading means you need to swap the Anderson connections.
Step 3: Make the Anderson Connection
Slide the red Anderson connector into the red socket on your power source. You’ll hear a small click when it seats properly.
Repeat with the black connector. The connection should feel snug but not forced.
Troubleshooting Loose Connections
If the Anderson connectors feel loose, the contact springs might be worn. Replace the connectors rather than fighting with poor connections.
Step 4: Insert the DC7909 Plug
Push the barrel plug firmly into your device’s charging port. It should slide in smoothly and stay in place.
A loose connection here can cause voltage drops and poor performance.
Step 5: Power Up and Test
Turn on your power source first, then your device. This sequence prevents power surges.
Check that your device shows it’s receiving power. Most have LED indicators or display messages.
Troubleshooting Common Issues
Even simple connections can go wrong sometimes. Here’s how to fix the most common problems.
No Power Getting Through
When nothing happens, start with the basics. Is your power source actually on? Does it have charge?
Use your multimeter to check voltage at each connection point. You should see the same voltage everywhere if connections are good.
Checking Fuse Protection
Many power sources have inline fuses. A blown fuse stops all power flow but protects your equipment.
Replace blown fuses with the exact same rating. Using a higher-rated fuse removes important protection.
Intermittent Power Loss
Power that cuts in and out usually means loose connections. Wiggle each connection while watching for power changes.
Corrosion on metal contacts also causes this problem. Clean contacts with electrical contact cleaner and a small brush.
Device Won’t Charge
Some devices are picky about their power sources. They expect specific voltage ranges or charging protocols.
I came across information showing that many modern devices need “smart” charging that basic adapters can’t provide.
Compatibility Solutions
Consider a DC-DC converter if you need precise voltage control. These small boxes take variable input and provide stable output.
Selecting the Right Adapter
Not all adapters work the same way. Choosing the right one saves headaches later.
Wire Gauge Matters
Thicker wires carry more current safely. 12 AWG wire handles about 20 amps, while 16 AWG maxes out around 10 amps.
Research from electrical standards organizations shows that undersized wires heat up and can start fires.
Connector Quality
Cheap connectors use thin metal that corrodes quickly. Quality connectors use silver-plated copper that stays clean longer.
The extra cost of good connectors pays off in reliable connections and longer life.
Brand Recommendations
From what I read online, Anderson and Renogy make reliable connectors. Many RV and solar installers stick with these brands.
Maintenance and Care
Taking care of your adapter keeps it working reliably for years.
Regular Inspection Schedule
Check your connections every few months, especially if you use them outdoors. Look for corrosion, loose wires, or damaged insulation.
Catching problems early prevents bigger issues later.
Cleaning Procedures
Use electrical contact cleaner on metal parts. Never use water or oil-based cleaners on electrical connections.
A small wire brush removes stubborn corrosion. Follow up with contact cleaner to remove debris.
Storage Tips
Store adapters in dry places when not in use. Moisture causes corrosion that ruins connections.
Coil cables loosely to prevent stress on internal wires. Tight coils can break wires over time.
Advanced Applications
Once you master basic connections, you can tackle more complex setups.
Series and Parallel Connections
Multiple adapters let you power several devices from one Anderson source. Wire them in parallel to maintain voltage.
Each device draws its own current, so make sure your power source can handle the total load.
Custom Cable Builds
Making your own cables gives you exact lengths and configurations. You’ll need Anderson connectors, DC7909 plugs, and appropriate wire.
Soldering creates the most reliable connections. Heat shrink tubing protects your joints from moisture and damage.
Conclusion
Using an Anderson to DC7909 adapter opens up new possibilities for powering your portable devices. The connection process is straightforward when you follow proper safety procedures and use quality components.
Remember to check voltage compatibility, verify current ratings, and make secure connections. Regular maintenance keeps everything working reliably for years to come.
Whether you’re setting up solar power for camping or creating a backup power system at home, these adapters provide the flexibility to connect different types of equipment safely and effectively.
Can I use an Anderson to DC7909 adapter with any voltage?
No, you must match the voltage requirements of your device. Most DC7909 devices expect 12V, but some need 19V or 24V. Using wrong voltage can damage your equipment permanently.
How much current can these adapters safely handle?
Most quality adapters handle 10-15 amps continuously. Check both the adapter specifications and your device’s current draw to ensure compatibility. Never exceed the adapter’s rated capacity.
What should I do if the Anderson connectors keep coming loose?
Loose Anderson connectors usually indicate worn contact springs inside the housings. Replace the connectors rather than trying to tighten them. Quality connectors should click firmly into place and stay connected.
Is it safe to make connections while the power is on?
No, always turn off your power source before making or breaking connections. Live connections can create dangerous electrical arcs and damage sensitive electronics in your devices.
How often should I inspect my Anderson to DC7909 adapter?
Inspect your adapter every 2-3 months if used regularly, or before each use if stored long-term. Look for corrosion, damaged wires, or loose connections that could cause problems or safety hazards.