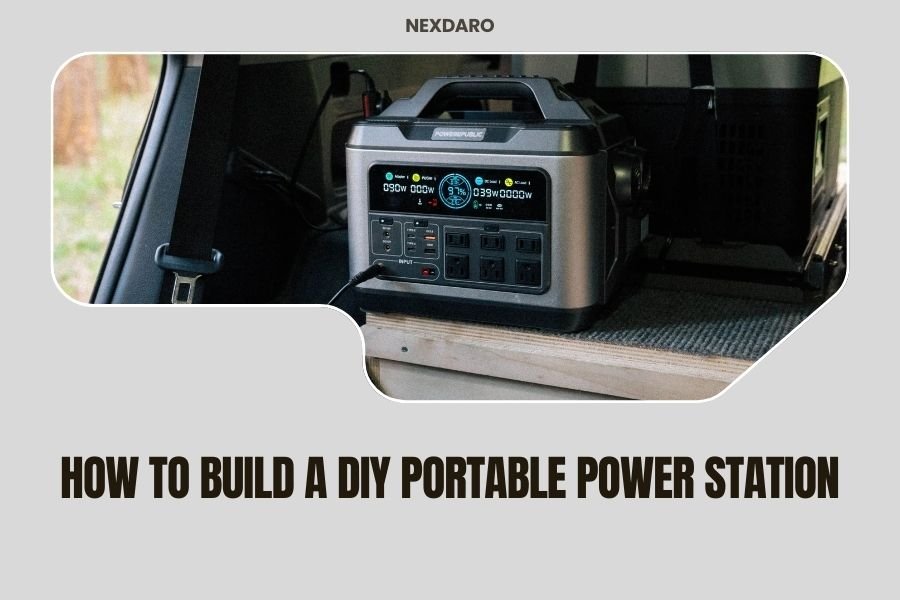
Building a DIY portable power station requires a lithium battery pack, inverter, charge controller, and proper housing to create a safe, functional portable power source.
You can build your own portable power station for $200-400 using basic components and simple wiring, giving you reliable backup power for camping, emergencies, or outdoor work.
What You Need to Get Started
You don’t need to be an electrician to build this project. I found that most people can complete their first DIY portable power station in a weekend with the right parts and basic tools.
The main components work together like a team. Your battery stores the power. The inverter changes DC power to AC power for regular plugs. The charge controller protects everything while charging.
Essential Components List
Here’s what you’ll need for a basic 100Ah system:
- 12V 100Ah lithium battery ($150-200)
- Pure sine wave inverter 1000W ($80-120)
- MPPT charge controller 30A ($40-60)
- Battery monitor with display ($25-40)
- Waterproof storage case ($30-50)
- Fuses, switches, and wiring ($20-30)
Tools You’ll Actually Use
Keep it simple. You need wire strippers, a drill, screwdriver set, and multimeter. That’s it.
A heat gun helps with shrink tubing, but a hair dryer works too. Don’t overcomplicate the tool list.
Choosing Your Battery Type
This choice makes or breaks your project. I researched battery options and found that lithium beats lead-acid in almost every way for portable systems.
Why Lithium Wins
Lithium batteries weigh half as much as lead-acid. They charge faster and last 3-5 times longer. Yes, they cost more upfront, but the math works out better.
A 100Ah lithium battery gives you about 1200 watt-hours of usable power. That’s enough to run a small fridge for 12-15 hours or charge phones for weeks.
Battery Safety Features
Look for batteries with built-in BMS (Battery Management System). This protects against overcharging, overheating, and short circuits.
Many experts recommend LiFePO4 chemistry for DIY projects. It’s more stable than other lithium types and handles temperature changes better.
Selecting the Right Inverter
Your inverter turns 12V DC into 120V AC power. Think of it as a translator between your battery and regular household items.
Pure Sine Wave vs Modified Sine Wave
Pure sine wave costs more but works with everything. Modified sine wave is cheaper but can damage sensitive electronics.
I found that laptops, phone chargers, and medical devices need pure sine wave power. The extra $30-50 is worth avoiding fried electronics.
Sizing Your Inverter
Add up the watts of everything you might run at once. Then multiply by 1.2 for safety margin.
A 1000W inverter handles most camping needs. It runs laptops, fans, lights, and small appliances without breaking a sweat.
Understanding Charge Controllers
The charge controller manages power coming into your battery. It prevents overcharging and extends battery life.
MPPT vs PWM Controllers
MPPT controllers cost more but harvest 20-30% more power from solar panels. PWM controllers work fine for small systems under 200W.
For most DIY builds, a 30A MPPT controller gives you room to grow. You can add more solar panels later without upgrading.
Controller Features That Matter
Look for LCD displays that show battery voltage, charging current, and daily power harvested. This data helps you understand your system’s performance.
Temperature compensation adjusts charging based on battery temperature. It’s not required but helps in extreme climates.
Building Your Power Station Step by Step
Start with safety. Disconnect everything while wiring. Double-check connections before powering on.
Planning Your Layout
Sketch your case layout first. Keep heavy items like batteries on the bottom for stability.
Place ventilation fans near heat-generating components. Inverters and charge controllers need airflow to stay cool.
Wiring the Main Components
Connect the battery to your main fuse first. This protects everything downstream from shorts or overloads.
Run thick wire (10-12 AWG) for high-current connections. Use thinner wire (16-18 AWG) for monitoring and control circuits.
Battery to Inverter Connection
Keep these wires short and thick. Long thin wires waste power and create voltage drops.
Use ring terminals crimped and soldered for the most reliable connections. Heat shrink tubing prevents corrosion.
Adding the Charge Controller
Connect battery terminals first, then solar input. This order prevents damage to the controller.
The charge controller needs to “see” the battery voltage before connecting solar panels or AC charging sources.
Installing Monitoring and Controls
A battery monitor shows how much power you’re using and how much remains. It’s like a fuel gauge for your power station.
Mount switches and displays on the outside of your case for easy access. Label everything clearly.
Safety Considerations
Electricity doesn’t forgive mistakes. Take safety seriously from day one.
Fusing Everything Properly
Every positive wire needs a fuse sized for that circuit’s maximum current. This prevents fires if wires short out.
Place fuses close to the battery positive terminal. A short between the battery and fuse can still cause problems.
Ventilation Requirements
Even lithium batteries generate some heat during charging. Good airflow keeps components cool and extends their life.
Install intake and exhaust fans if your case will see heavy use or hot climates. Computer case fans work great for this.
Emergency Shutoffs
Install a master switch that disconnects the battery from everything else. You want quick power-off capability in emergencies.
Consider adding a fire extinguisher rated for electrical fires near your workspace and storage area.
Testing Your Completed System
Test everything step by step before declaring victory. Start with no-load tests, then gradually add real devices.
Initial Power-Up Sequence
Turn on the battery monitor first. Check that it reads correct battery voltage.
Power up the charge controller next. It should show battery voltage and charging status on its display.
Turn on the inverter last. It should show green lights and produce 120V AC output.
Load Testing
Start with a simple lamp or phone charger. Work up to higher-power devices like power tools or small appliances.
Watch for voltage drops, overheating, or error messages during testing. Address problems before using the system normally.
Common Mistakes to Avoid
I found online forums full of people who made these same errors. Learn from their experience instead of repeating it.
Undersized Wiring
Thin wires create voltage drops and heat up under load. Use proper wire gauges for each circuit’s current requirements.
A 1000W inverter pulls about 85 amps from a 12V battery. That needs 4 AWG wire or larger for the main connection.
Skipping Fuses
Every positive wire needs protection. Lithium batteries can deliver dangerous current levels during short circuits.
Use automotive-style fuses or breakers rated for DC circuits. AC-only protection devices won’t work safely here.
Poor Ventilation
Sealed cases trap heat and shorten component life. Even small cooling fans make a big difference.
Hot batteries charge slower and wear out faster. Keep air moving through your power station.
Conclusion
Building a DIY portable power station gives you reliable backup power at a fraction of commercial unit costs. With basic tools and weekend effort, you’ll have a system that provides power for camping, emergencies, or remote work sites.
Start with a simple 100Ah lithium setup and grow from there. Focus on safety first, proper component sizing second, and fancy features last. Your homemade power station will serve you well for years with proper planning and quality components.
How long does it take to build a DIY portable power station?
Most people complete their first build in 6-8 hours spread over a weekend. Planning and ordering components takes another week. Experienced builders can finish simple systems in 3-4 hours.
Can I use car batteries instead of lithium for my power station?
Car batteries work but aren’t ideal for deep discharge cycles. Marine or RV deep-cycle batteries perform better, but lithium still wins for weight, lifespan, and charging speed in portable applications.
What size solar panel do I need to charge my DIY power station?
A 100Ah lithium battery needs about 100-200 watts of solar panels for reliable charging. Smaller panels work but take longer to recharge the battery fully.
Is it legal to build your own portable power station?
Building personal-use power stations is legal in most areas, but selling them requires certifications and testing. Check local codes for any restrictions on battery storage or electrical work.
How much money can I save building my own power station?
DIY builds typically cost 40-60% less than equivalent commercial units. A homemade 100Ah system costs $300-400 versus $600-800 for similar store-bought models.