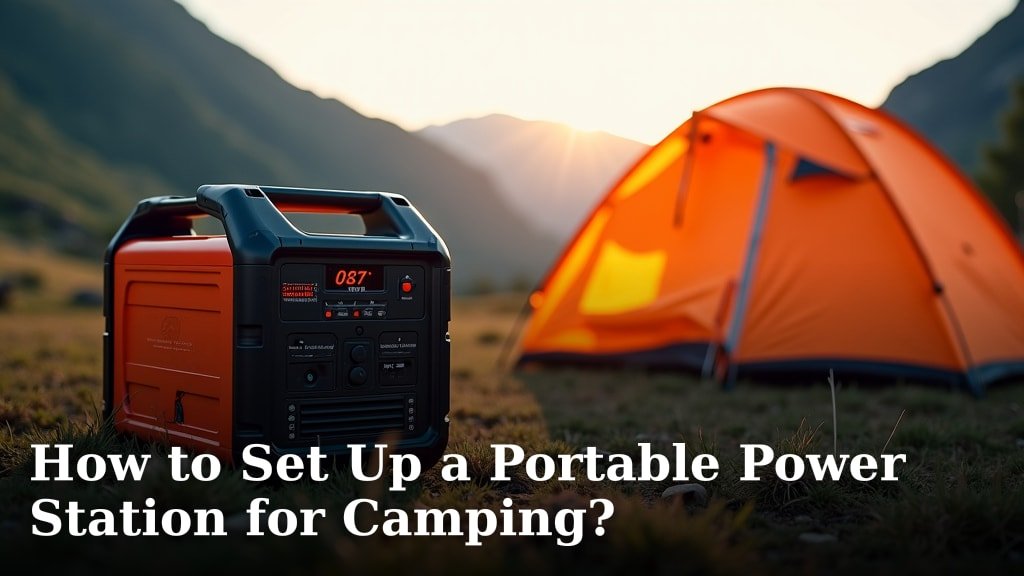
To set up a portable power station for camping, charge the unit fully before your trip, choose a safe, dry spot at your campsite, and then plug in your devices. It’s a straightforward process that brings convenience to the outdoors.
You want to keep your gadgets powered up, right? A portable power station makes it easy to run everything from lights to mini-fridges. We found that proper setup ensures peak performance and safety for your camping adventure.
- Charge your power station before you leave.
- Pick a good spot at your campsite.
- Connect your devices simply.
- Enjoy power wherever you go.
- Keep your gear safe and dry.
Let’s walk through exactly how to set up your portable power station step by step, so you can enjoy a hassle-free camping experience.
Getting Your Portable Power Station Ready for Adventure
Before you hit the road, a little preparation goes a long way. Think of your power station like a trusty sidekick; you want it fully prepped for anything. We found that charging your unit completely before you leave is the most critical first step. This ensures you have maximum power from the get-go.
The Importance of a Full Charge
Why a full charge? Imagine arriving at your campsite, excited to set up, only to find your power station half-empty. It’s a real bummer, right? A fully charged unit provides peace of mind. It also means you won’t be scrambling to find a charging source as soon as you arrive, which might not even be possible in remote areas.
- Maximize runtime for all your devices.
- Avoid the frustration of low battery alerts.
- Ensure essential gear (like CPAP machines) runs all night.
Charging Methods and Best Practices
Most portable power stations offer several ways to charge. You’ll typically find an AC wall charger, a car charger, and often solar panel input. Using the AC wall charger at home is usually the fastest and most efficient method. Always use the original charger that came with your unit or a compatible replacement recommended by the manufacturer (Consumer Reports).
Optimizing Charging Time
To optimize charging, plug your unit directly into a wall outlet. Avoid using extension cords or power strips if possible, as these can sometimes slow down the charging process or even pose a fire risk if not rated properly. We found that overnight charging works best for most units, ensuring a full battery by morning.
Choosing the Perfect Spot at Your Campsite
Once you arrive at your campsite, where do you put this vital piece of gear? The location you choose for your portable power station is more important than you might think. You need a spot that is safe, dry, and easily accessible, but also out of the way. Think about both convenience and protection from the elements.
Protecting Your Power Station from the Elements
Weather can be unpredictable. Rain, dew, and even intense sun can harm your unit. Look for a spot that offers natural shelter, like under a picnic table or inside a tent vestibule. If no natural cover is available, consider using a tarp or a dedicated protective case. Keeping it dry is paramount for longevity and safety.
- Avoid direct sunlight to prevent overheating.
- Protect from rain, snow, and heavy dew.
- Keep it off the bare ground to prevent moisture wicking.
Safety First: Placement Considerations
Beyond weather protection, safety is key. You don’t want anyone tripping over your power station or its cables. Place it in a low-traffic area. Ensure there’s good ventilation around the unit, especially if it’s operating for extended periods. Most units have fans that need clear airflow to prevent overheating (National Electrical Code).
Avoiding Trip Hazards
Running cables across walkways is a recipe for disaster. Try to route cables along tent walls or under objects to keep them out of the way. Use cable ties or Velcro straps to bundle excess cord length. A tidy setup is a safer setup, especially when you’re moving around in the dark.
Connecting Your Devices and Getting Powered Up
Now for the fun part: powering all your gear! Connecting your devices to your portable power station is usually a simple plug-and-play process. But there are a few things you should keep in mind to ensure everything runs smoothly and efficiently. You want to get the most out of your power supply, right?
Understanding Output Ports
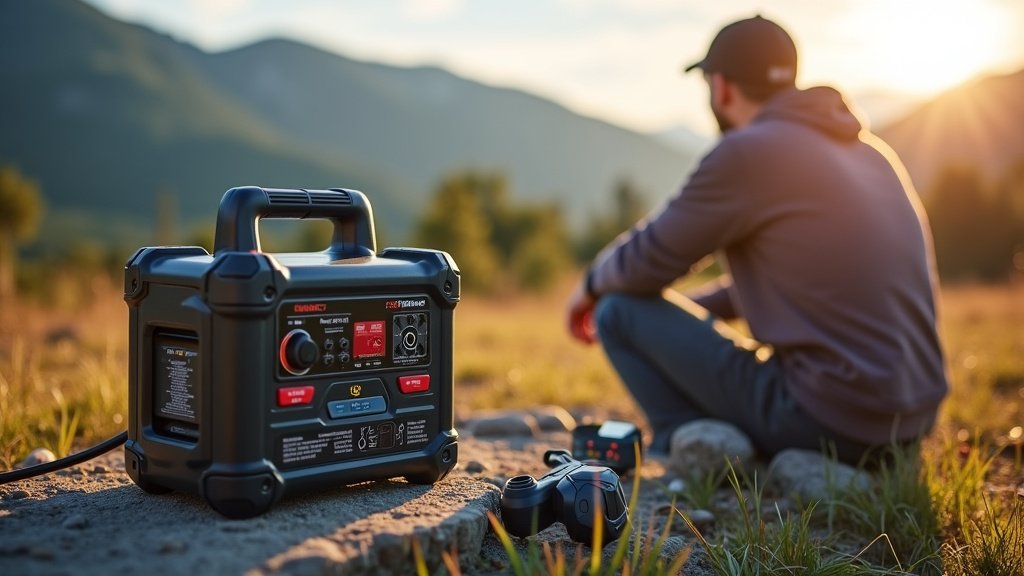
Your power station likely has several types of output ports. You’ll typically find AC outlets (just like at home), USB-A and USB-C ports, and sometimes 12V car ports. Match the device you want to power with the correct port. For example, your phone charges via USB, while a mini-fridge needs an AC outlet.
| Port Type | Common Devices | Efficiency Tip |
|---|---|---|
| AC Outlet (120V) | Mini-fridge, laptop, electric kettle | Use AC only when necessary; it’s less efficient. |
| USB-A/USB-C | Phones, tablets, headlamps, drones | Most efficient for small electronics. |
| 12V Car Port | Car refrigerators, air pumps, specific DC appliances | Great for direct DC power, often very efficient. |
Powering Up Your Essential Gear
When you start connecting devices, think about your priorities. What absolutely needs power? Your phone? A medical device? Charge these first. Then move on to less critical items. This approach helps you manage your power consumption effectively and prevents unpleasant surprises. We found that a prioritized charging schedule helps extend battery life.
Managing Power Draw
Every device you plug in draws power. Some draw a lot more than others. An electric kettle, for instance, uses significantly more power than charging a phone. Be aware of your power station’s maximum output and try not to exceed it. Overloading the unit can trigger safety shutdowns or even damage it (Underwriters Laboratories).
Ongoing Maintenance and Troubleshooting Tips
Setting up your power station isn’t a one-and-done deal. To ensure it serves you well throughout your trip and for many adventures to come, a little ongoing care is essential. We found that simple maintenance prevents headaches and extends the life of your unit. A happy power station means happy campers!
Monitoring Battery Levels
Keep an eye on the battery display. Most units have a clear indicator showing remaining power. Don’t wait until it’s critically low to think about recharging, especially if you rely on it for essential devices. If you have solar panels, keep them deployed and angled correctly to passively recharge throughout the day.
- Check battery status regularly.
- Recharge when power drops below 20-30% if possible.
- Utilize solar charging during daylight hours.
Troubleshooting Common Issues
Sometimes, things don’t go as planned. If a device isn’t charging, first check the cable connection. Is it fully seated? Next, confirm the power station is turned on and that the specific port you’re using is active. Many units have individual port buttons. If it still doesn’t work, try a different device or port to isolate the problem.
What to Do If the Unit Overheats
Overheating can occur, especially in direct sun or if vents are blocked. Most modern power stations have built-in protection that will shut them down if they get too hot. If this happens, disconnect all devices, move the unit to a cooler, shaded, and well-ventilated area, and let it cool down completely before attempting to restart it.
Your Portable Power Station Setup Checklist
To make sure you don’t miss a beat, here’s a quick checklist for setting up your portable power station. Go through these steps, and you’ll be all set for a powered-up camping trip. We’ve used this many times ourselves to ensure a smooth setup every time!
- Charge your power station fully before leaving home.
- Pack all necessary charging cables and adapters.
- Choose a dry, level, and shaded spot at the campsite.
- Ensure good ventilation around the unit.
- Plug in your most essential devices first.
- Regularly monitor the battery level.
Conclusion
Setting up your portable power station correctly means more enjoyment and less stress on your camping trips. By fully charging it at home, choosing a smart spot at your campsite, and understanding how to connect your devices, you’re all set.
Remember to prioritize your essential gear and keep an eye on battery levels. A little preparation goes a long way toward ensuring reliable power for all your adventures. You’ve got this! Now, go enjoy the great outdoors, powered up and ready for anything.
Frequently Asked Questions
How long does a portable power station typically hold a charge when not in use?
Most portable power stations can hold a charge for 3-6 months when stored properly, depending on the model and battery chemistry. We found that checking the manual for specific storage recommendations helps. It’s best to fully charge it before storing and top it off every few months.
Can I use a portable power station to jump-start my car?
While some larger portable power stations might have a jump-start feature, most standard camping models do not. If this is a feature you need, check the product specifications carefully before purchasing. Always use dedicated jumper cables and follow your car manufacturer’s instructions for safety.
Is it safe to leave my portable power station charging in my tent overnight?
Yes, it’s generally safe to charge smaller devices inside your tent. However, ensure the power station has good ventilation and isn’t covered by sleeping bags or clothes. For larger units or those charging high-draw items, we suggest keeping them in a well-ventilated area outside your sleeping space, like a tent vestibule, for optimal airflow.
What’s the best way to clean my portable power station?
To clean your power station, simply wipe it down with a dry, soft cloth. For tougher dirt, a slightly damp cloth can be used. Avoid using harsh chemicals or abrasive materials, as these can damage the unit. We found keeping the vents clear of dust and debris is important for long-term performance.
Can I chain multiple portable power stations together for more power?
Generally, no, you cannot “chain” portable power stations together to increase their output capacity or voltage. Each unit operates independently. If you need more power or capacity, you would typically use a larger single unit or multiple units for different tasks. Always check your specific model’s manual for any unique features.