How to Hook Up a Portable Power Station to a House?
On this page (6 sections)
To hook up a portable power station to a house, you primarily need a transfer switch or an interlock kit installed in your electrical panel. This setup allows you to safely power essential circuits in your home during an outage; learn whether a station can power a house. You’ll also need a heavy-duty extension cord to connect your power station to the transfer switch or inlet box.
Many homeowners are looking for reliable backup power that’s easier than a whole-home generator. Portable power stations offer a convenient and quiet solution for those unexpected blackouts. They can keep your fridge running and your lights on, bringing peace of mind.
TL;DR:
- Connect your portable power station to your home safely.
- Use a transfer switch or interlock kit.
- Power essential home circuits during outages.
- Portable power stations are a quiet, convenient backup.
- Provides peace of mind during blackouts.
Ready to bring modern backup power to your home? Let’s walk through exactly how to set this up safely and effectively, step by step.
Connecting a Portable Power Station to Your Home: A Safe Guide
Connecting a portable power station to your home lets you keep essential appliances running when the grid goes down. This isn’t just about convenience; it’s about safety and preparedness. We’ll show you how to do it right, without risking your household electronics or the safety of utility workers.
Understanding the “Why”: The Importance of Safe Connections
Why can’t you just plug your power station into any old outlet? It’s a critical question. Directly plugging a power source like a generator or power station into a wall outlet is called “backfeeding.” This is incredibly dangerous.
Backfeeding can send electricity back into the power grid. Utility workers repairing lines might not know power is coming from your house. This can lead to serious injury or even death for them. It also risks damaging your appliances and even your home’s electrical system.
You need a way to isolate your home’s electrical system from the main power grid. This is where transfer switches and interlock kits come in. They are designed to prevent backfeeding, making your setup safe and compliant with electrical codes.
Essential Gear You’ll Need
Before you start, gather your tools and components. Having everything ready makes the process smoother. You’ll need more than just your portable power station.
Your Portable Power Station
First, consider your power station itself. Is it powerful enough for what you want to run? Check its wattage output. You’ll want one with an AC output that matches or exceeds the power needs of your essential appliances. Look for models with a 30A or 50A outlet if you plan to connect it to a transfer switch or inlet box, as these provide more power.
Many larger portable power stations offer a 240V output option, which is ideal for connecting to your home’s main panel. If yours only has 120V outlets, you’ll need to adjust your expectations for what you can power.
Transfer Switch or Interlock Kit
These are the absolute non-negotiables for safe home connection. They are the heart of your backup power system.
The Transfer Switch Explained
A transfer switch is a dedicated panel that lets you manually (or sometimes automatically) switch selected circuits from utility power to your portable power station. You choose which circuits are connected to the switch – maybe your refrigerator, a few lights, and a heater. It completely disconnects those circuits from the grid when you activate it. We find that many homeowners prefer transfer switches for their clarity and ease of use during an outage (National Electrical Code guidelines).
The Interlock Kit Explained
An interlock kit is a mechanical device installed in your existing electrical panel. It prevents you from turning on both your main utility breaker and the generator/power station breaker at the same time. It’s a cost-effective option if you have space in your panel. It physically blocks one breaker from engaging while the other is on, ensuring no backfeeding occurs.
Power Inlet Box
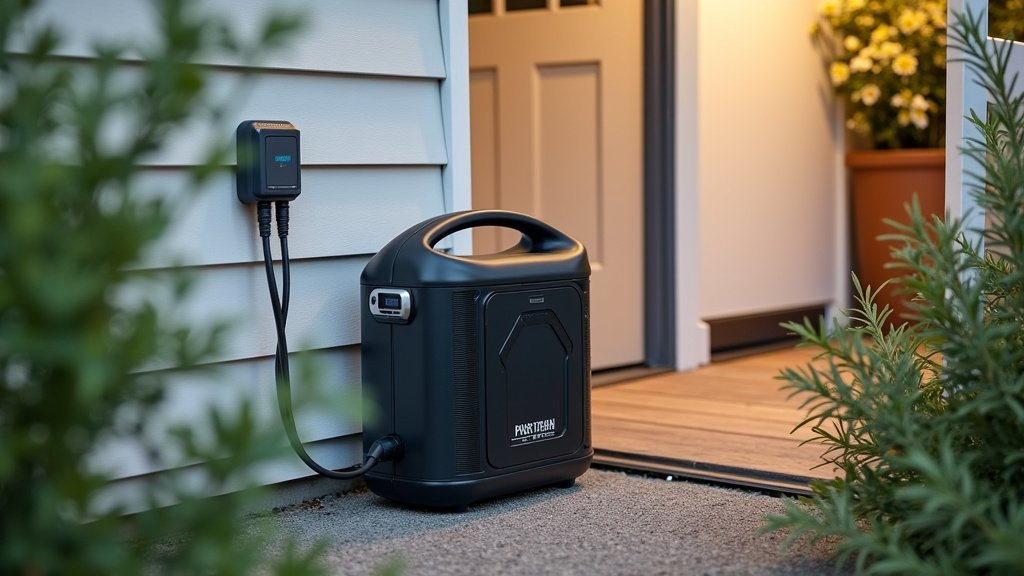
This external box is installed on the outside of your home. A heavy-duty cord from your portable power station plugs into it. From the inlet box, wiring runs to either your transfer switch or directly to your main electrical panel (if using an interlock kit). It provides a safe, weatherproof connection point for your portable power station.
Appropriate Power Cords
You’ll need a specific type of cord to connect your power station to the inlet box. This is usually a heavy-duty outdoor-rated cord with a NEMA L14-30P or L14-50P plug on one end (to match your power station’s output) and the corresponding receptacle on the other (to plug into your inlet box). Always check the amperage rating of the cord to ensure it can handle the power your station puts out.
The Installation Process: Step-by-Step
Setting this up requires careful attention and often professional help. Don’t rush this part. Your safety depends on it.
Step 1: Planning and Appliance Selection
Before any installation, figure out what you truly need to power during an outage. Make a list. Your portable power station likely can’t run everything. Prioritize. Think about the critical loads: refrigerator, lights, a fan, maybe a medical device. This list will help determine the size of your power station and the circuits to connect to your transfer switch.
Add up the running watts of these items. Then, consider their surge watts – the extra power they need to start up. Your power station needs to handle both. It’s like planning for a camping trip; you only bring what’s essential (Consumer Reports).
Step 2: Professional Electrical Installation
This is where an electrician comes in. Unless you are a certified electrician, DO NOT attempt to install a transfer switch or interlock kit yourself. This involves working with your home’s main electrical panel, which carries lethal voltage. It’s not a DIY project.
An electrician will:
- Install the transfer switch or interlock kit.
- Mount the power inlet box on the exterior of your home.
- Properly wire the inlet box to the transfer switch or your main panel.
- Ensure all connections meet local electrical codes.
We’ve found that licensed electricians ensure everything is up to code and safe. Don’t skip this critical step to save a few bucks. Your family’s safety is worth it.
Step 3: Connecting Your Portable Power Station
Once the professional installation is complete, you can connect your portable power station during an outage. Here’s the general procedure:
- Position your power station outdoors, away from windows and doors. It needs good ventilation.
- Plug one end of your heavy-duty power cord into your portable power station’s high-output port (e.g., 30A or 50A outlet).
- Plug the other end of the power cord into the power inlet box installed on your home’s exterior.
- Start your portable power station according to its manufacturer’s instructions.
Always keep your power station dry and on a stable surface. Never operate it in an enclosed space like a garage. This is similar to how you’d operate a gas generator for safety.
Operating Your System During an Outage
With everything connected, here’s how to get power to your home safely and efficiently.
Using a Transfer Switch
If you have a transfer switch, the process is straightforward:
- Once your portable power station is running, go to your transfer switch panel.
- Flip the main utility breaker for the selected circuits to the “OFF” position. This physically disconnects them from the grid.
- Then, flip the corresponding circuit breakers on the transfer switch to the “GENERATOR” (or “POWER STATION”) position.
- Your selected appliances should now have power.
Remember, only the circuits wired to the transfer switch will receive power. This is why planning in Step 1 is so important.
Using an Interlock Kit
With an interlock kit in your main panel, here’s what you do:
- With your portable power station running, locate the main utility breaker in your electrical panel and turn it to the “OFF” position.
- Slide the interlock plate over the main breaker switch. This physically prevents it from being turned back on.
- Flip the dedicated power station breaker (which was installed by your electrician) to the “ON” position.
- Now, you can turn on the individual circuit breakers in your main panel that you want to power, as long as the total load doesn’t exceed your power station’s capacity.
The interlock kit is a genius, simple mechanical safeguard (Electrical Safety Foundation International).
Power Station Connection Checklist
Here’s a quick recap to ensure you’re ready for the next blackout:
-
Portable Power Station: Is it charged and ready? Is it powerful enough for your needs?
-
Transfer Switch or Interlock Kit: Is it professionally installed and tested?
-
Power Inlet Box: Is it securely mounted and correctly wired?
-
Heavy-Duty Power Cord: Is it rated for outdoor use and proper amperage?
-
Appliance List: Do you know what you’ll power and its wattage?
-
Safety First: Always operate the power station outdoors and follow all instructions.
By following these steps, you can confidently use your portable power station to keep your home running when the lights go out. It provides real peace of mind during uncertain times.
Conclusion
You now have a clear path to safely connecting your portable power station to your home. Prioritizing safety through a professionally installed transfer switch or interlock kit is paramount. This setup